
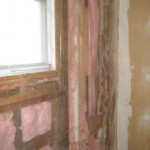
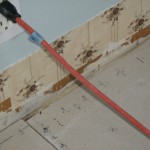
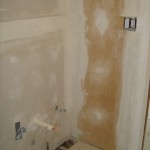
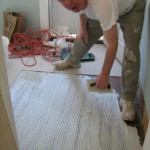
These photos bring us up to the present in the continuing saga of the bathroom renovation. Drywall has been put up, lally columns have been installed in the basement to hoist the floor back up (the source of the crumbling vinyl floor tile that initiated the whole project), electrical is finished, the floor leveling compound is down, and Jim has installed the cement backer board that will support the awesome new floor tile.
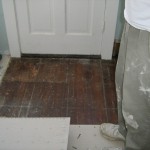
Pictured below are the fresh insulation, the yucky wallpaper that we found in the foyer (since we’re renovating the foyer and the bathroom together), the drywall, an action shot of Jim applying the mortar before putting down the backer board (I think he was a wee bit annoyed with me at that moment), and the wood floor that we found in the foyer underneath the vinyl tile. We did decide to cover up that wood floor, mostly because we had already bought and paid for the ceramic tile, but also because it was in poor shape and kinda ugly. And, important note for Jean and others who visit our house: there now is a light switch for the bathroom that is guest friendly, right by the door from the foyer! Yay! (Click on images to enlarge.)
I’ve been loving the old wallpaper. It would be fun to take a photo of each and make a photo “quilt” for the wall with “If walls could talk (past wallpapers of this house)” or somesuch written underneath. Does your house date to 1930?
Cool idea – wonder if I can make it work with the photos that I’ve got, since the wallpaper is now long gone…and yes, as near as we can figure the house was built in 1933. We’re going by a piece of newspaper dated 1933 that we found in the living room walls…
Abs – I think you could excerpt (or the photo equivalent) sections from your images and weave them together in photoshop. If you don’t have photoshop, I do. Send me the highest resolution images you have and I’ll work on it!
Cool Idea Carol!
– J